The move shoot move rotator is a useful tool for capturing stunning landscape and astrophotography shots. It allows photographers to capture multiple images of the same scene with different camera settings, resulting in high-quality, detailed photos that wouldn’t be possible with just one shot. However, many people are unsure of how to use this tool effectively.
In this article, we will discuss the basics of using the move shoot move rotator for astrophotography and landscape photography. We’ll go over what it is, why you might want to use it, and how to set it up for optimal results.
What is the Move Shoot Move Rotator?
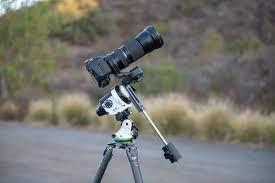
The Move Shoot Move Rotator is a useful device for astrophotography that allows you to capture clear and sharp images of the night sky. It is a compact, lightweight, and portable rotator that can be easily attached to your camera tripod. With its precise and smooth rotation capabilities, it enables you to track the stars’ movement while taking long-exposure shots.
To use the Move Shoot Move Rotator, you need to attach it to your camera tripod’s head and then mount your camera on top of it. The rotator comes with different modes that allow you to set the rotation speed, angle, and direction according to your preferences. Once you have set everything up correctly, all you need to do is press the start button on the rotator, and it will begin rotating at a steady pace.
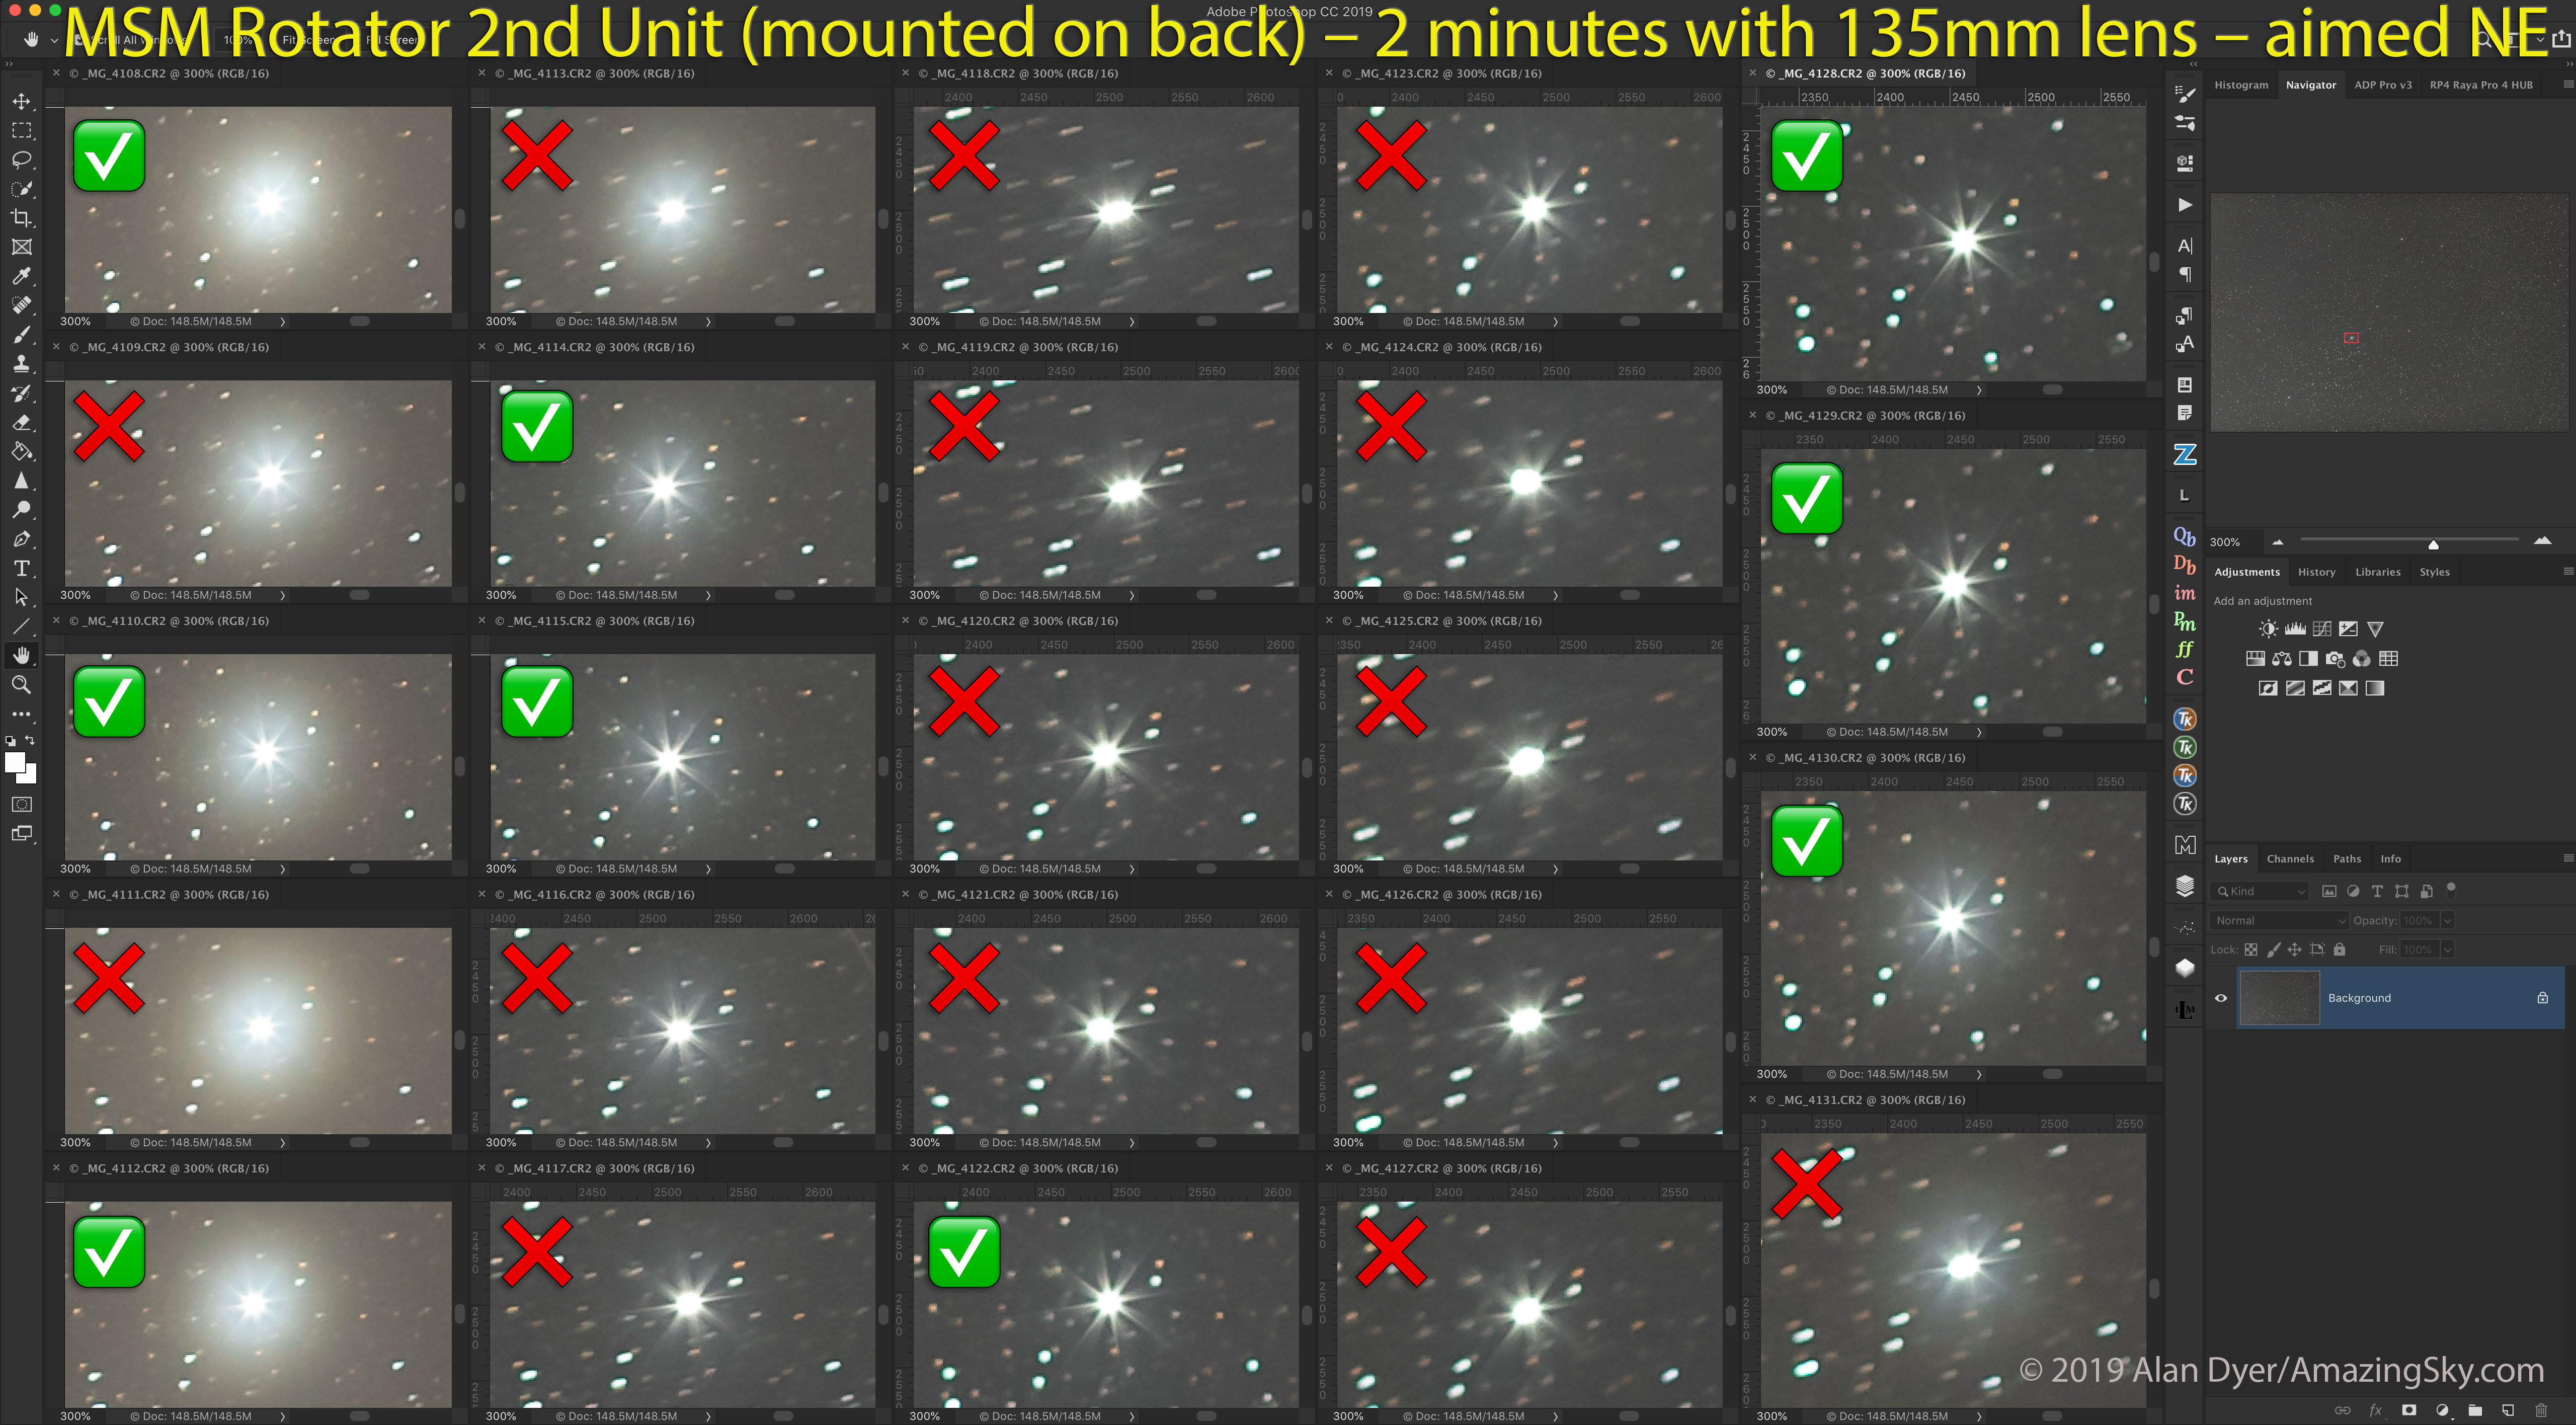
As the Move Shoot Move Rotator rotates your camera lens along with it during exposure time ranges from seconds or minutes required for astrophotography; hence there are lesser chances of star trails in an image produced by this method than traditional ones where one has kept their cameras stationary without any support equipment. Overall, using this tool enhances picture quality by delivering clearer details of celestial objects in our universe.
The Move Shoot Move Rotator is a compact and portable astrophotography accessory that helps capture stunning star trail images. It is a device that rotates your camera at a chosen speed to create the effect of stars moving in circular paths. The rotator can be attached to any tripod and can hold up to 6.6 lbs of weight.
Explaining what it is and how it works
The move shoot move rotator is a device that is commonly used in astrophotography to capture long exposure images of the night sky. This rotator allows the camera to take photos while rotating slightly with each exposure, helping to avoid star trails and create stunning images of the Milky Way or other astronomical objects.
When using the move shoot move rotator, there are a few steps that need to be followed. First, set up your camera and tripod in a location with minimal light pollution. Next, adjust your camera settings for optimal exposure time and aperture size. Then, attach the rotator to your tripod and connect it to your camera using an appropriate cable.
Once everything is set up correctly, you can begin taking photos by instructing the rotator to rotate between each shot. The amount of rotation needed will depend on factors such as focal length and shutter speed but can typically range from 5-30 degrees per shot. The result is a series of images that can then be stacked together in post-processing software to create one final image without any noticeable star trails.
Setting up the Move Shoot Move Rotator
The Move Shoot Move Rotator is a compact and portable device that allows photographers to capture stunning star trail images. To set up the rotator, first attach it to your tripod using the provided screw. Next, mount your camera onto the rotator’s quick release plate and secure it in place with the locking lever.
Once your camera is attached, adjust the rotator’s knobs to set the desired rotation angle and speed. You can also use the included remote control to adjust these settings from a distance. Finally, connect your camera to an external power source or ensure that it has a fully charged battery before starting your star trail photography session.
When you’re ready to shoot, simply press the start button on your remote control or use a timer function on your camera. The Move Shoot Move Rotator will automatically rotate your camera as you capture long exposures of the night sky. With some practice and experimentation, you can create stunning photographs of star trails that are sure to impress.
Step by step instructions on how to set it up
To set up the move shoot move rotator, you’ll need to first attach it to your tripod. Start by attaching the base of the rotator to your tripod’s ball head, using a standard 3/8” screw. Next, adjust and level your tripod so that it is firmly in place and stable.
Once you have secured the rotator to your tripod, connect your camera to the rotating arm of the device using a quick release plate or other compatible attachment. Make sure that your camera is properly balanced on top of the bracket and tighten all screws securely.
Finally, adjust the settings on your camera according to what you want to capture with the move shoot move technique. This may include setting up time-lapse mode or increasing exposure time for longer exposures. Once everything is set up properly, you can begin shooting using this innovative technique!
Shooting with the Move Shoot Move Rotator
The Move Shoot Move Rotator is a handy tool for photographers who are into astrophotography. This device enables you to capture star trails with ease by rotating the camera in intervals while keeping it steady. To use this rotator, attach it to your tripod and mount your camera onto it. Next, set the rotation interval and angle based on the desired effect you want to achieve.
Once you have set up the move shoot move rotator, start your long exposure shot and let it run until you get the desired length of star trail that you need. The rotator will automatically stop once each rotation has been completed, giving you clear and uninterrupted shots of the night sky. In summary, using a move shoot move rotator can help bring out stunning star trail photos without much hassle, making astrophotography an exciting hobby for both amateurs and professionals alike.
How to use it for astrophotography
If you’re an astrophotography enthusiast, you’ll know that capturing stunning images of the night sky requires a lot of patience and precision. To capture those perfect shots, using specialized equipment like the Move Shoot Move rotator can make all the difference.
The Move Shoot Move rotator is a compact and lightweight device designed to rotate your camera in precise increments, allowing for seamless stitching of multiple exposures into one breathtaking image. To use it for astrophotography, simply attach your camera to the rotator and set it up on a tripod. Once your composition is ready, you can start taking multiple exposures by setting up the desired rotation angle and exposure time intervals.
With each rotation of the move shoot move rotator, your camera will automatically capture a new exposure at precisely calculated intervals. This process allows you to take multiple long-exposure images without star trails or overexposure issues while keeping your subject centered and crisp throughout every shot. The result is an incredible panoramic view of the stunning night sky with sharp detail from edge to edge – something that’s almost impossible to achieve manually or with traditional photography techniques alone!
Tips for using the Move Shoot Move Rotator
1. Understanding the Basics: The first step to using the Move Shoot Move Rotator is to understand its basic mechanism and functionality. Familiarize yourself with the different parts and how they work together. Read the user manual or watch tutorials online to get a better understanding of how it works.
2. Setting Up Your Equipment: Before you start using the rotator, make sure your camera and tripod are properly set up. Ensure that your camera is securely mounted on the tripod and that everything is levelled.
3. Calibrating Settings: Once you have set up your equipment, you need to calibrate settings such as your ISO, shutter speed, aperture etc., so that they suit the lighting conditions in which you will be shooting. Doing this will help ensure that your images come out sharp and well-exposed.
4. Experimenting with Different Modes: The Move Shoot Move Rotator comes with various modes such as half-speed mode, 2/3-speed mode, silent mode etc., each designed for specific types of shots or scenarios. Experimenting with these modes can help you achieve different creative effects in your photos.
5. Practicing Patience: Lastly, like any other photography equipment or technique, mastering the use of a move shoot move rotator takes time and practice. Be patient while learning and experimenting with it; keep practicing until you feel comfortable using it independently for all sorts of shots- from star trails to time-lapse videos!